

When building your dream home, it is common to be flooded with a full range of emotions. One moment you might be overwhelmed with excitement and the next you might be feeling a bit anxious. We like to take the stress and worry out of the process as much as possible by partnering with you every step of the way. Because we keep everything in house, we are able to ensure that your expectations are met in a timely fashion.
Have you ever wondered what the building process might look like from start to finish? Take a peak below as we walk you thru building the home of your dreams, one step at a time!
Pre-Construction Process
This process begins with a meeting to review your plans, selections, changes, and the protocols of the construction process. Tina White, our designer and Kenny Sedlacko, our in-house architect, are available at this initial stage to assist you.
Stage 1
Your home site is cleared and graded in preparation of pouring the footings. Initial inspections by city officials and engineers take place.
![]() Stage 2
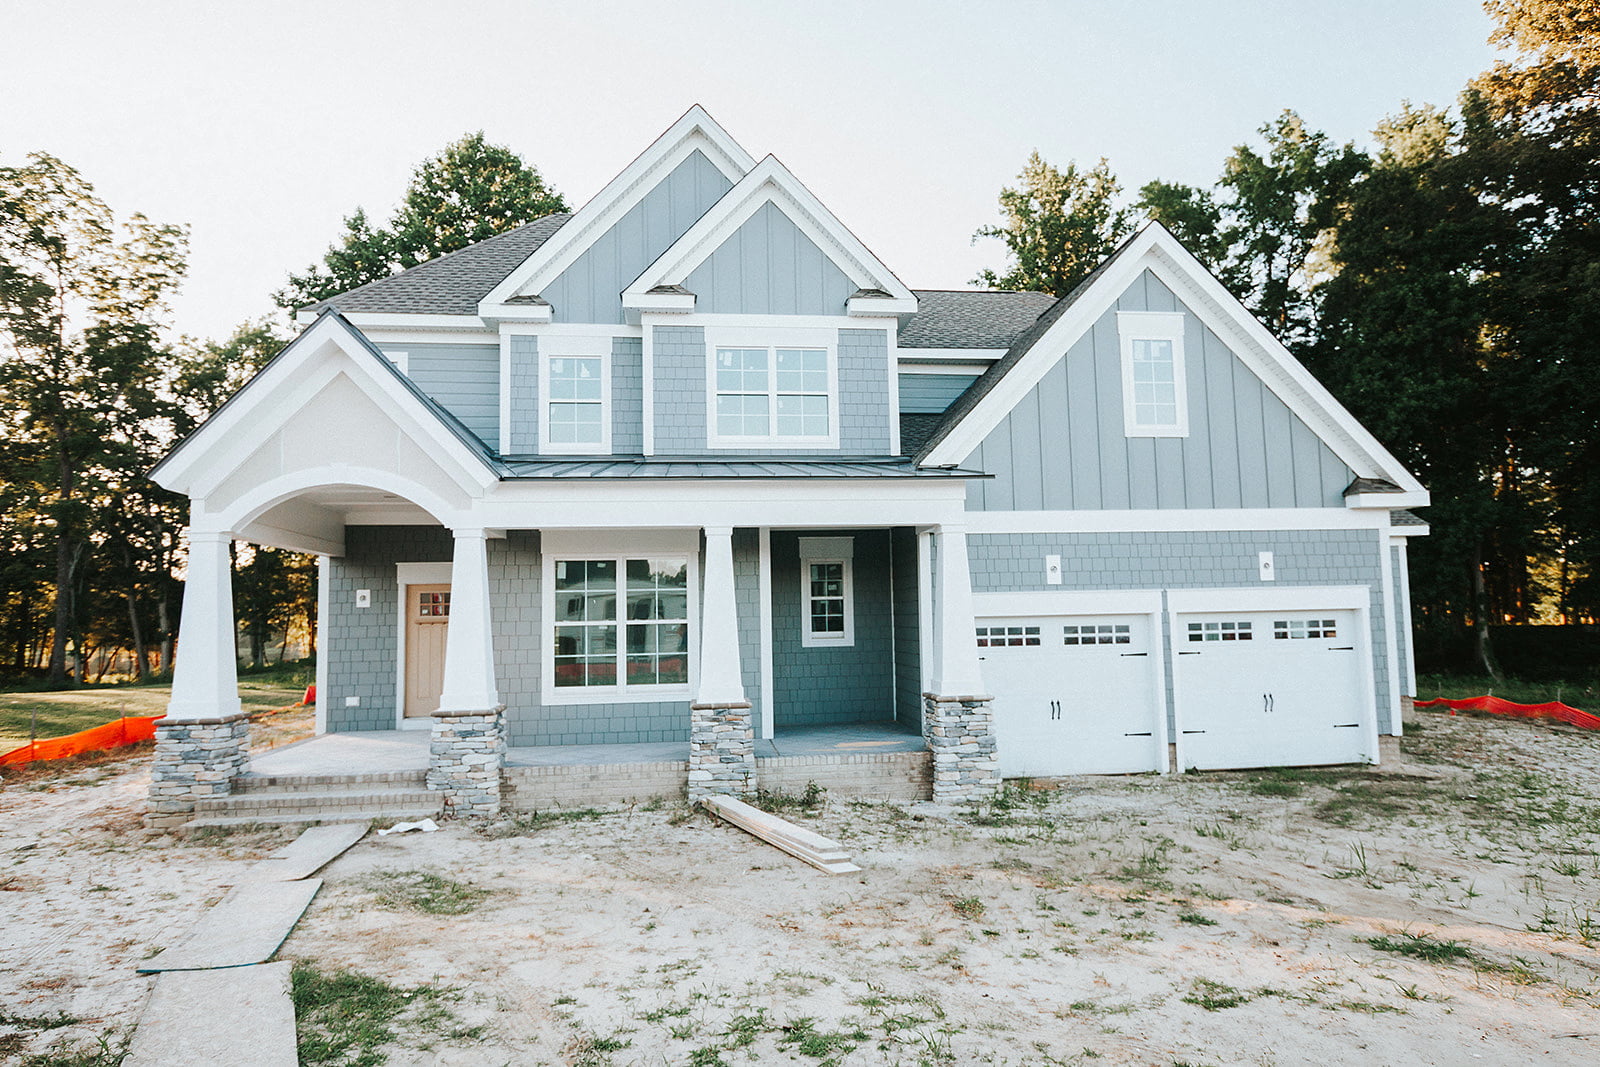
Stage 2
Foundation is completed and crawlspace is backfilled with sand. A termite pretreatment is done. The garage concrete slab is poured.
Stage 3
Framework is completed and the roof is dried-in with felt paper. Framing inspections are performed by the city officials.
Pre-rough-in inspection: A pre-rough-in inspection with you and your project manager now occurs. The inspection and review will cover the entire structure to the point, including placement of electrical outlets and switches, cable outlets, telephone jacks, color selections, and any changes you request. This inspection is vital to review with you the work completed to this point and to insure that the timely completion of your home is not delayed due to incorrect installation and indecision.
Stage 4
Cornice is installed, primed and painted. Windows are installed.
Stage 5
Mechanical, plumbing, and electrical rough-ins are done. Gas lines are installed. City inspectors perform framing and mechanical inspections.
Stage 6
Brickwork/stonework/exterior siding and insulation is installed. Roof shingles are installed. Low voltage wiring is completed, including telephone, cable, surround sound, security, and central vacuum. Sheetrock installation begins and is followed by the taping and finishing of the walls. The flatwork, which includes driveways, sidewalks, and patios, is installed.
 Stage 7
Exterior painting is done. Finish carpentry that includes stair trim out, cabinets, countertops, trim, doors, and mantels is completed. Baths and backsplash are tiled. Hardwood floors are laid.
Stage 8
Interior walls and trim are painted. Light fixtures and appliances are delivered and HVAC, electrical and plumbing trim out is done. Homeowner will order final utility connections for telephone, gas and electrical.
Stage 9
Electrical and security trim out is completed. Wallpaper is now installed as well as mirrors, shower doors, bath accessories and closet shelving.
Stage 10
Hardwood floors are finished and fireplace surrounds are installed. Trim hardware and locks are installed. Landscaping and irrigation are completed. Any touch-up work to the paint is done and there is a pre-carpet inspection. Once approval is given, the carpet is installed. Final clean of the interior and exterior is done and appliances are checked for any defects.
Stage 11
Gas and electric meters are installed. A final building inspection is completed and the home is now ready for the walk through with your project manager. At this point, punch-list items will be accumulated.
Final Stage
Once we have addressed your requirements, your home is cleaned and ready for occupancy.